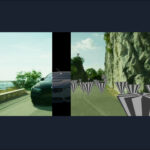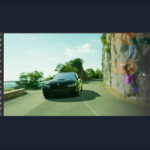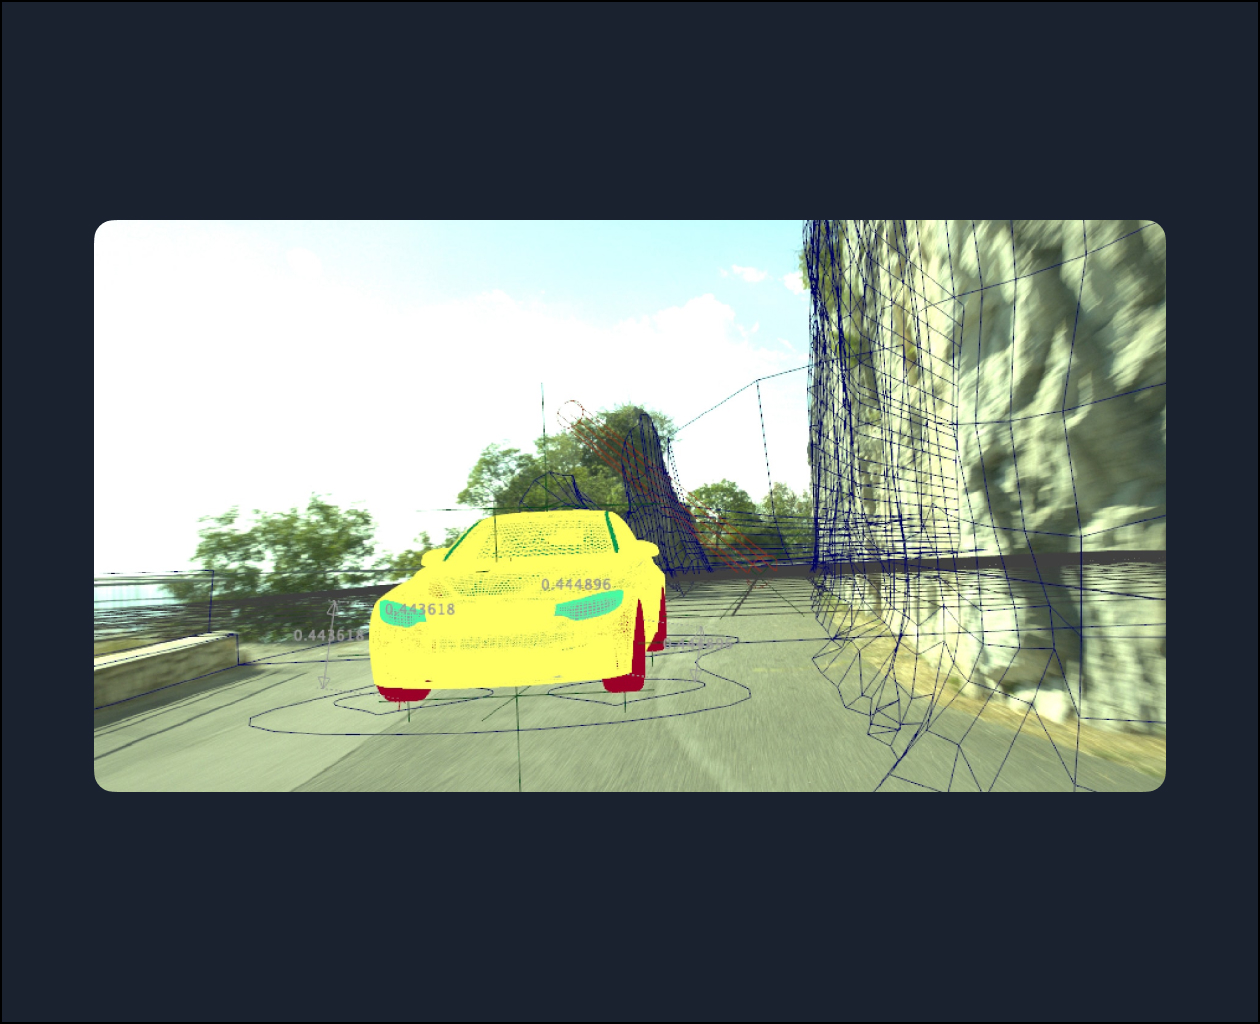
This course, taught by Amid Rajabi, is the second of a three part course covering integrating the car from VRY203 into a live action plate. The focus in this part is on rigging, animating, lighting, and rendering.
The course starts out covering rigging the car and animating it in Maya followed by showing how you can use the Quad Draw feature in Maya to remodel the generated meshes for the projection process. Also, we will use VRaySun and VRaySky to set up the lights to match the real world lighting in the scene. Finally, you’ll see how to use V-Ray nodes to project the footage on the rock models, set up the render layers, and render the scene.
Video Player
00:00
01:22
Class Listing
Class 1: Overview
A refresher about the course and an overview of how we will rig, animate, and set up the lights and render our shot.
Class 2: Rigging, Part 1
Examining the primary information about the rig and getting through the rigging process of one of the car wheels.
Class 3: Rigging, Part 2
Transferring the rig to other wheels and build up the needed controllers and the related attributes for them.
Class 4: Final rigging and initial animation
Finalizing the car rigging and a discussions of the components of animating the car.
Class 5: Animation
Working on the car animation, including finessing to get a more complete, detailed, and accurate animation.
Class 6: Mesh adjustments
Remodeling the Nuke-generated PoissonMesh meshes with the help of the Maya Quad Draw tool.
Class 7
In this session, we’re going to perform the lighting of the scene based on the footage that we have in V-Ray.
Class 8
In this session, we’re going to revise and correct the shader that we built for the Projection and build the existing trees in the shot by using the Opacity Map.
Class 9
We’re going to make the rendering layers by Render Setup in Maya and add the needed AOVs in V-Ray.
Class 10
We’re going to finalize the render setting parameters and starting the render.