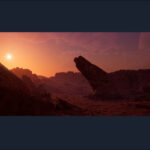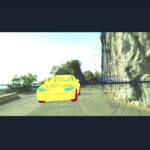
This course, taught by Amid Rajabi, is the first of a three part course covering integrating the car from VRY203 into a live action plate. He starts by covering ACES, setting up color management in Nuke with OCIO, and setting the right color space for the footage that was filmed by an ARRI camera.
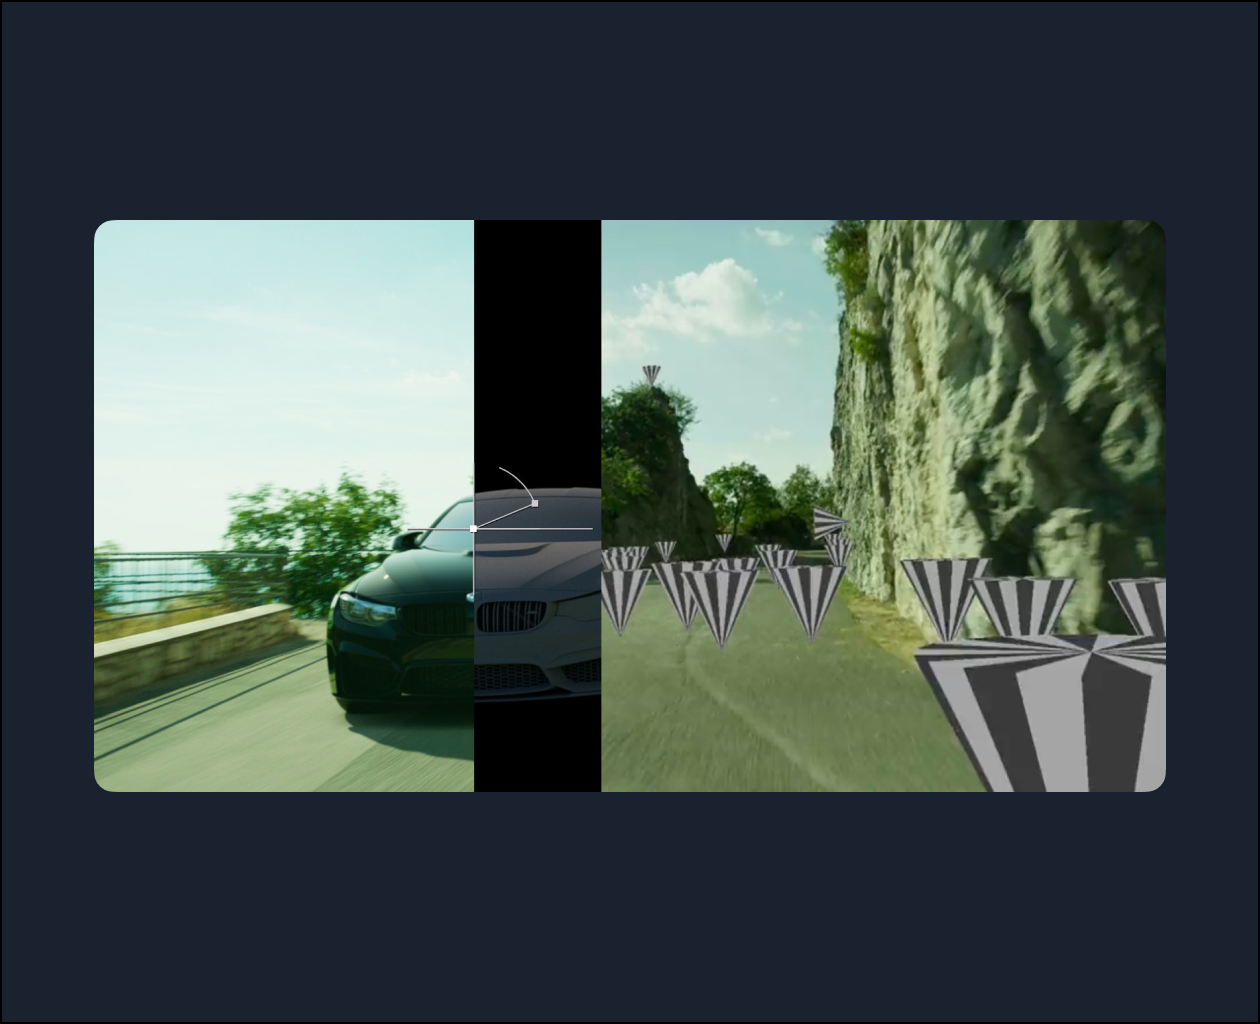
Next, the course shows camera tracking in Nuke as well as using the Point Cloud Generator to create models of the rocky cliff for projection effects. Next, the camera and scene is exported to Maya and prepared for the next steps.
Amid is a freelance look development , compositor, and instructor. He has been working in the industry for close to 18 years, becoming a Nuke Certified Trainer in 2012 and has been working with Chaos Group and Autodesk as a closed beta tester for V-Ray and Bifrost. Since 2016 he has created multiple short films, with several accepted at international film festivals such as Santa Cruz (Argentina), Pachuca (Mexico), and Cinalfama (Portugal).
Thanks to Victor Perez for serving as our vfx supervisor for the shot.
Video Player
00:00
01:29
Class Listing
Class 1: Overview
A brief overview of the course and plotting the path to achieve a cinematic look.
Class 2: Color Management
Examining the footage and obtaining metadata through the ViewMetaData node. Using OpenColorIO and ACES in Nuke.
Class 3: Camera Tracking
Using data about the ARRI camera sensor, re-creating an accurate movement of the camera by using the CameraTracker node in Nuke.
Class 4: Scene Adjustments
Setting up the scene after the preliminary camera tracking calculation, resizing all the parameters of the scene to real-world conditions.
Class 5: Testing the Track
Verifying the precision of the camera tracking by putting test objects in the scene and exporting the objects and point clouds to Maya.
Class 6: Modeling the cliffs
Creating a model of the environment (to be later used for reflections) using the PointCloudGenerator in Nuke.
Class 7: Maya initial setup
Getting our scene started in Maya, getting ready for the rigging process and more in the next course (VRY205).